|
Date |
Long-Term Project
Schedule |
|
Sept |
Introductory lesson on Biogeology and
Heat Generation; Learn how to use and then practice using a dial
probe thermometer. |
|
Oct |
Send home flyer to parents to collect
appropriate food scraps for “Compost Party”. Have “Compost Party”
(filling the composter). Student teams take daily
temperature for Jora and make observations. |
|
Nov |
Student teams continue taking daily
temperature and making observations; Students each make graphs of
results of first composting experiment. |
|
Dec |
|
|
Jan |
Send home flyer to parents to collect
appropriate food scraps for second experiment. Have “Compost
Party” (filling the composter). Student teams take daily
temperature for Jora and make observations. |
|
Feb |
Student teams continue taking daily
temperature and making observations. Students each make graphs of
results of second composting experiment. |
|
Mar |
Students compare results of the two
experiments and note similarities and differences and come up with
conclusions. |
|
OBJECTIVES: Learn about
biogeology and the importance of soil. VOCABULARY: decomposers MATERIALS: Long dial probe
thermometer
BACKGROUND: Microorganisms have chemical requirements,
primarily carbon for energy, nitrogen to build proteins and oxygen for
respiration. Microorganisms in the soil need to have aerated soil to
maintain optimal oxygen levels and adequate moisture necessary for
microbial growth.
The decomposition process
releases heat. Compost piles have to be large enough to go through the
thermophilic (heat producing) process to prevent the growth of "bad"
microbes (like salmonella) that could harm humans. Measuring the
temperature is very important to make sure the composting materials
generate enough heat. Composting occurs because of the efforts of
microorganisms. Although worms and insects also help, microorganisms are
the key workhorses of composting. There are three main types of organisms
that are important in composting: 1. Actinomycetes are
complex bacteria that form filaments. They do most of the work of
composting. They tolerate low-moisture and low-pH conditions.
All
living organisms have a Carbon to Nitrogen (C:N) ratio for their tissues.
For microorganisms, carbon is
the basic building block of life and is a source of energy, but nitrogen
is also necessary for such things as proteins, genetic material, and cell
structure.
Decomposition of organic materials in your compost pile is greatly
increased when you create the proper balance between the carbonaceous
materials (called
BROWN
because they are dry) and the nitrogen-rich materials (called
GREEN
because they are more fresh and moist). This balance is referred to as the
Carbon-Nitrogen ratio,
and shown as C:N.
Microorganisms that digest compost need about 30 parts of carbon for every
part of nitrogen they consume. That's a balanced diet for them. If there's
too much nitrogen, the microorganisms can't use it all and the excess is
lost in the form of smelly ammonia gas. Nitrogen loss due to excess
nitrogen in the pile (a low C:N ratio) can be over 60%. At a C:N ratio of
30 or 35 to 1, only one half of one percent of the nitrogen will be lost.
That's why you don't want too much nitrogen (fresh manure, for example) in
your compost: the nitrogen will be lost in the air in the form of ammonia
gas, and nitrogen is too valuable for plants to allow it to escape into
the atmosphere.
5.
Generally speaking, you can get C:N ratios of 30:1 to 50:1 by adding two
parts of a GREEN material to one part of a BROWN material to your bin.
A "part" can be defined
as a certain quantity of the material, such as two 5-gallon buckets of
GREEN and 1 packed bucket of BROWN.
6.
Play with the chart below.
For example, food scraps, grass clippings and leaves come close to an
average of 30:1. How? Add-up the Carbon side of the ratio for all three
materials, i.e. 15, 17, 60, and divide by the number of materials, i.e.
three. 92/3 = about 31:1.
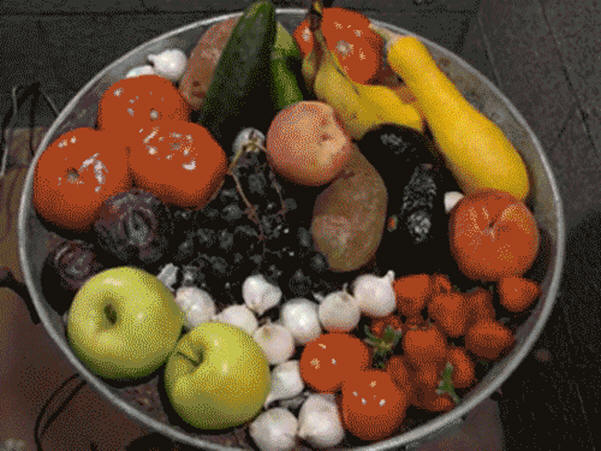
1. The week before the experiment begins, send
“Compost Party” flyer home to families, asking students to bring in food
waste (fruit, vegetables and eggshells). Vegetables, especially leafy
vegetables, will help provide nitrogen. Fruit provides moisture. No meat,
cheese, bread or processed foods are allowed. 2. The goal is to fill the Jora Composter on one
day. Students can help break up green waste and put it in coffee
containers. Ideally, put in 1 parts food waste (or 3 part green waste
like grass), 1 part manure, and 1 part wood chips. The limiting factor for
filling the composter will be how much food waste has been brought in by
students. Have them add 1
containers of food waste and then they can add one of manure and one of
wood chips. There are two sides to the, marked Side A and
Side B. Hopefully both sides will fill up, but if classes do not have
enough material, fill up Side A as much as possible and put the remainder
in Side B. This can help students evaluate whether a full composter is
more efficient than a partially filled one. Note: It is best to set the day for filling the
Jora early in the week since the compost often reacts quite quickly and
reaches its maximum temperature in a few days. 3. After filling the Jora composter, have the
students line up and take turns spinning the composter two times each.
This mixes the material and aerates it. 4. Take initial temperature readings using the
large composting dial probe thermometer. First, take exterior air
temperature in the shade. Place the dial probe thermometer in the shade,
with the sensor end not touching anything. Next, take the temperature in
the composter. Place the probe deep into the center of the mass of
material (without touching the back wall of the composter). Students
should take the temperature in both Side A and Side B. Have students line
up in pairs to observe correct dial probe thermometer placement and
practice reading the temperature. 5. Student teams should take daily temperature
readings from the exterior air in the shade and from the composter in both
Side A and Side B. Each member of the team should observe the thermometer
and the team should agree on the temperature before recording it. Students
should record observations daily as well. They can record comments on
color change, smell (good, bad, earthy, etc.), steam production or other
observations. By the end, the compost should look and smell like dirt.
Before leaving the composter, students should spin the composter once
each. 6. Making compost needs to be monitored to prevent
microorganisms from harming people and producing bad smells. Compost needs
to exceed 60°C to produce healthy compost. (If after two weeks it has not
done so, please contact the compost specialist or MSN.) 7. Temperatures should continue to be taken daily
until the temperature in the composter comes back down to a consistent
temperature of approximately 20°C for at least 4 days. Students should
continue taking the temperature in both Side A and Side B. Once a
consistent low temperature is reached, the students can stop daily
readings. 8. At the end of 3 months (or before a vacation),
take out the pre-compost and put it in the black bins. Cool composters
such as worms and pill bugs will continue the decomposition process. The
compost will mature in the bins until students use it at the end of the
year to put in the garden. 9. Once the experiment has ended, students should
graph the temperatures recorded from sides A and B. Days will be on the
horizontal “x” axis and temperature will be on the vertical “y” axis.
Students should use different colored lines for Side A and Side B data. 10. Students should discuss the results. Did the
temperature go over 60°C for 3 days? What day of the experiment was the
highest temperature? Review observation comments. What did you notice that
went along with the changes in color and temperature?
|