BACKGROUND:
Chemical compounds are substances composed of two or
more elements united chemically in definite proportions by mass. Water is a
compound composed of two atoms of hydrogen, a gas, and oxygen, another gas.
Together they form a liquid with characteristics different from either
element. This is the reason for studying elements and compounds separately.
Elements and compounds have their own characteristics that a student must
learn to identify.
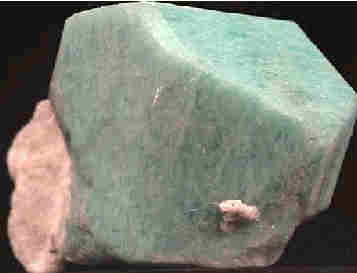
Minerals are made of elements, and most minerals are
compounds. At each station in this lab, the students will examine different
minerals, and write down the elements that compose them. (Depending on your
students' abilities, you might ask them to copy only the symbols.) The
stations should be set up so the children can see and touch the mineral
specimens. You can use mineral samples that you might have or borrow.
Important concept is that elements make up
minerals.
PROCEDURE:
- Before the lab prepare index cards listing the minerals your students
will examine and their constituent elements. You will need one card per
mineral, for each student group. I
Save the index cards and reuse them in subsequent years.
QUARTZ = SILICON (Si) + OXYGEN (O)
PYRITE = IRON (Fe) + SULFUR (S)
APATITE = CALCIUM (Ca) + PHOSPHATE (P) + OXYGEN (O)
ULEXITE = SODIUM (Na) + CALCITE (Ca) + BORON (B) + OXYGEN (O)
GYPSUM = CALCIUM (Ca) + SULFUR (S) + OXYGEN (O)
MICA = ALUMINUM (Al) + SILICON (Si) + OXYGEN (O)
FLUORITE = FLUORINE (F) + CALCIUM (Ca)
HEMATITE = IRON (Fe) + OXYGEN (O)
CALCITE = CALCIUM (Ca) + CARBON (C) + OXYGEN (O)
- Prepare stations for each mineral. Each station will consist of a
mineral, and its corresponding index card. For some of the minerals you
may want to add a magnifying glass so that students can take a closer
look at the mineral. Place a periodic table placemat at each station so
that the students can find the elements in the minerals. If you are
using two groups, one on each side of the room works well.
- Discuss some of the characteristics of the minerals. Place a picture
under the ulexite and notice that the picture rises. Put a dot under the
calcite, and notice the double image. Mica can break easily into sheets.
Pyrite is called fool's gold; galena is called fool's silver. Gypsum is
used in making the inside walls of houses (it is a component of sheet
rock or wall board). Fluorite can be broken into diamond-shaped
crystals. Hematite will make a red "streak" if it scratches a
porcelain plate (not the glazed side). Apatite is the mineral that makes up the teeth in all vertebrate animals as well as their bones
- During the lab, review the names of the minerals one by one before the
students go to the stations. Divide the class and tell them where they
will be working. Be sure to tell them that all the groups have the same
minerals. If you have your own set of minerals, use the Internet to find
out the chemical combination. Just search the name of the mineral.
- Students should complete the worksheet. Explain to them that they
need to fill in which elements make up the mineral they are examining,
and that they can find this information on the index card. Make sure you
give students enough time to copy the words. Note that the information
given to the students includes just the elements that are part of that
mineral, not the correct chemical formulas. In later grades, the
students will become familiar with the full formulas.
You may want the students to "trace" the mineral under the
"draw" column. This is just so students look at the mineral
carefully.
- After the students have finished, go through the answers with them.
Allow them to make any corrections needed.